
We mostly use homemade laundry detergent, vinegar, and no dryer sheets to avoid dangerous chemicals in our laundry. During my times of investigating if the expensive detergents worked better than the homemade soap, I found the only thing to mattered was whether stains were treated with stain remover or not. So, my stain remover, I have kept...until now!
I thought I was going to have to use ammonia or some other harsh ingredients due to all the stain remover recipes I had found. Somewhere, I came across this suggestion. Oh, and how simple it is! Why...do I not think of these things on my own?
What you'll need:
1 bar of soap (I chose a plain white natural homemade bar)
water -2-5quarts depending on your preference
What to do:
1. Grate the soap.
2. Put it in a pan along with the water. If you're not sure how much, start with 2 quarts. You can dilute it more later. I recommend going ahead and using 4 quarts 'cause uts going to be thick.
3. Heat up the mixture until all the soap is melted.
4. After it has cooled a bit, pour it into the container of your choice.
In a day, this will be a gel (a very thick gel if you use 2 quarts of water). Use it like it is, or dilute it more.
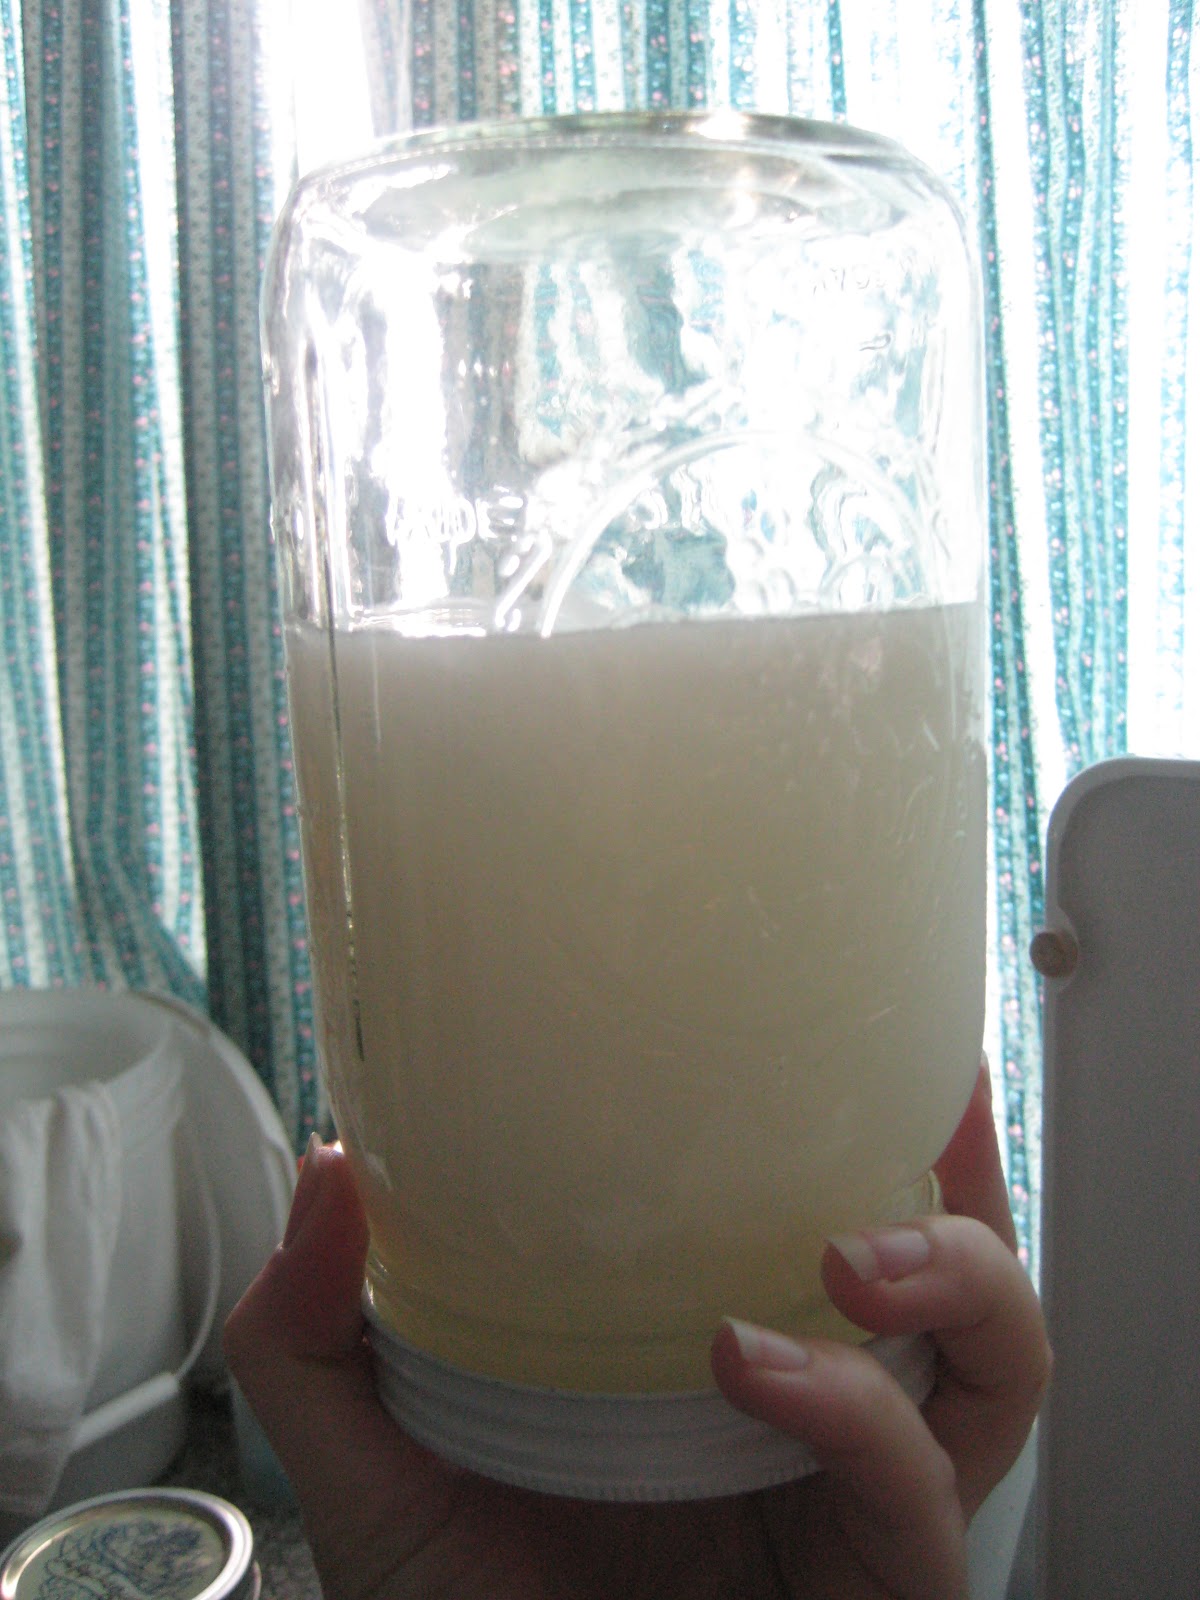

Here, on the right is the stain remover before I diluted it. You can see that, after a few second, the middle is oozing down to the lid. On the left, the gel has been diluted more and it flopped down to the bottom as soon as I turned in upside down. Its still thick, but squirtable.
I will dilute the jar on the right when I need to. That means I will have made over 4 quarts of stain remover for the price of a bar of soap. AND- we'll avoid the cancer causing ingredients in store bought stain removers! The measley spray bottle of stain remover I've been using costs more and it only has 30 ounces in it. Compare that to over 128 ounces for less money.
Does it work, though? It has been working for me. I squirt some on the stain, smear it around or scrub it with a brush. I will let you know if, in the long run, it turns out to be dissapointing. So far, I've had great results.
Another thing to make from scratch!
Update: Our son's nose bled on his pillow one night. (He has frequent nosebleeds depending on the weather and his health.) We meant to soak it right away, but we were in a hurry and forgot. The blood had set for two day on the pillow- we finally covered the spot with this homemade stain remover. After a few hours, rinsed it off with water and the blood rinsed right off! TOTALLY! We have cleaned many spots of blood with zero results- now we have a winner!
Update: Our son's nose bled on his pillow one night. (He has frequent nosebleeds depending on the weather and his health.) We meant to soak it right away, but we were in a hurry and forgot. The blood had set for two day on the pillow- we finally covered the spot with this homemade stain remover. After a few hours, rinsed it off with water and the blood rinsed right off! TOTALLY! We have cleaned many spots of blood with zero results- now we have a winner!


